Hexslides: Death to Death by Powerpoint!
Hexslides allows you to create presentations with highly expressive animations in your favorite vector graphic drawing tool (such as Inkscape). Then you combine svg graphics and masters/templates in beautiful presentations.
Create highly visual presentations, that support what you are talking about instead of distracting from it!
Easily create animations to better present your ideas!

Use textex for your math typesetting needs, and combine them with easy, manual layouting for complex situations and animations!
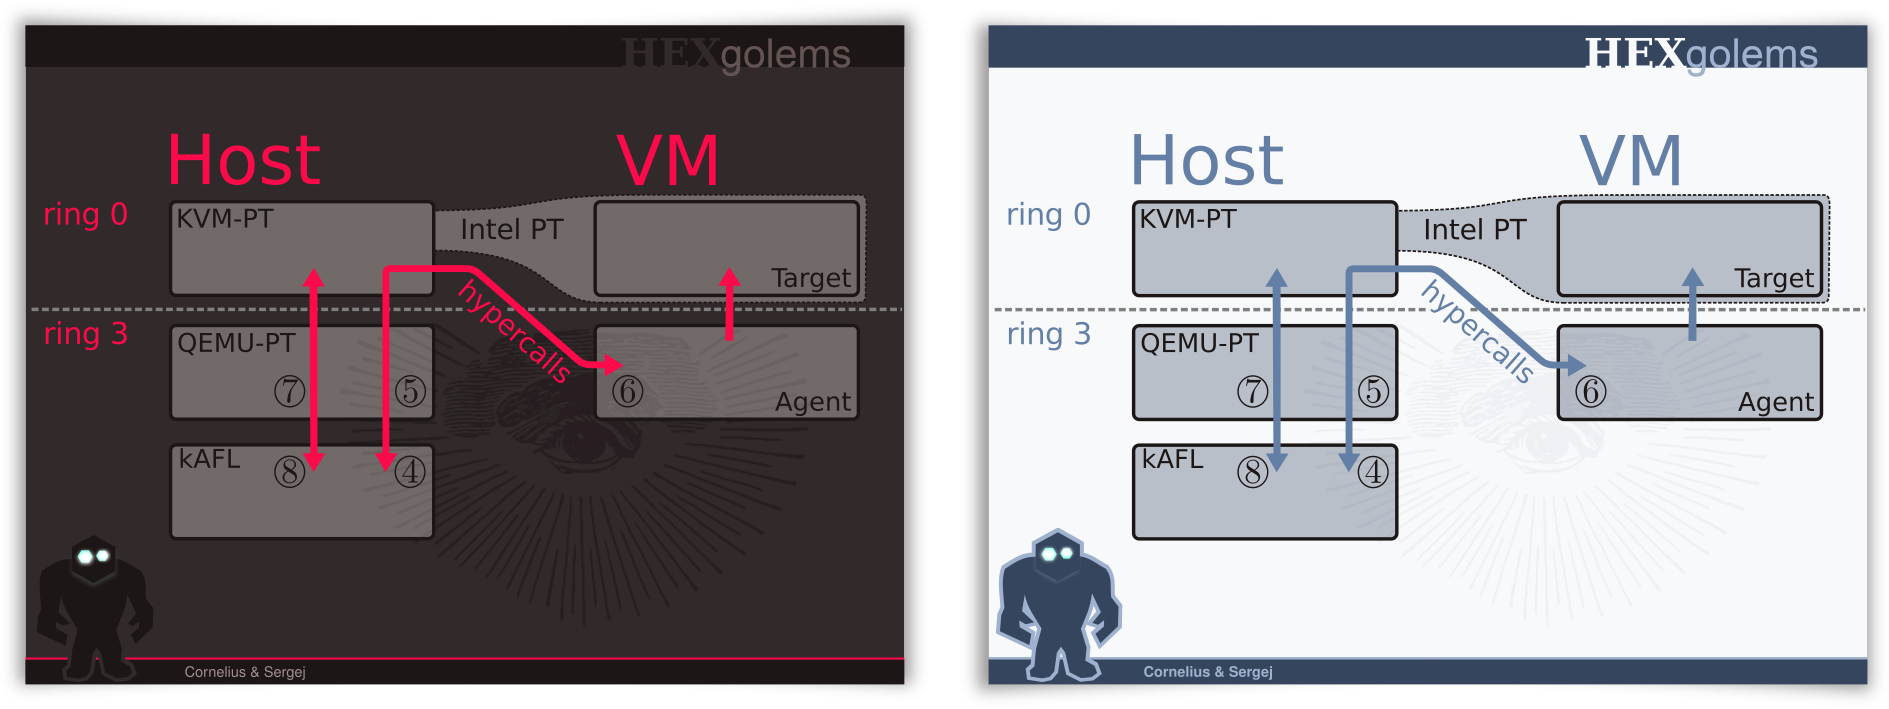
Use custom color replacement rules to convert your graphics from one template/style to another!
How Does it Work?
In short: create svg files in imgs/. Specify which layers are part of which slide by modifying slides.tex. Run make and enjoy your freshly crafted slides.pdf. To get started, you can copy imgs/example.svg and modify it!
A bit longer: for each animation (or slide), you create a simple .svg file, that contains all moving objects as layers. The script gen.rb (which is called by the makefile) converts each
individual layer into one individual .pdf file stored in imgs/generated/$filename_$layername.pdf. Then we use Latex
to compile all images into a full presentations.
For example, the following code is used to show layer1 in all frames, layer2 only in frame 2 to 4 while layer3 is shown in frames 3 and 5. You can
specify visibility using the typical (for Latex-Beamer) notations such as 3-4,5,7.
\slide{
  \asvg{1-}{example_layer1}
  \asvg{2-4}{example_layer2}
  \asvg{3,5}{example_layer3}
}
The \slide command is a thin wrapper around the \slidecustom command, that can also specify a background and
foreground image. By default \slide uses the background from imgs/template.svg but you can simply create different
layouts/masters.
\slidecustom{template_clear_bg}{template_foreground}{
  \asvg{1}{example_layer1}
}
Tricks
- You can edit
theme/gen.rbto replace colors in the svg files. This allows to easily transfer content across themes. - Edit
theme/commands.texif you need multiple different slide masters to avoid using the longer\slidecustomcommand too much. - The default color scheme for dark backgrounds contains two seemingly identical colors
mainandhighlight_red. They differ only in the least significant bit of one channel. This allows the color replacement to assign two different colors. For a bright Theme,maincan be turned into black, whilehighlight_redcould remain a darker shade of red. Use this to your advantage to assign semantical colors. - Typically you will store all elements of a single animation in one svg and use one
\slidecommand to generate a slide from this. However, you can easily split larger animation across multiple svg files or\slidecommands. This is helpful to maintain easy editing (changing frame numbers can be hard for animations with many steps). - Layers starting with
__are not exported. You can use this to create a backdrop that contains the theme. That way you know exactly what your slide will look like in the final version. - You can edit pdfs in Inkscape. This is very useful to reuse figures or plots from other sources.
- A list of Inkscape tutorials that you might find helpful:
Install
apt-get install inkscape gimp texlive-full texlive-lang-german texlive-doc-de texlive-latex-extra latex-mk
cp theme/hexgolems_theme.gpl ~/.config/inkscape/palettes/
mkdir /tmp/textext
cd /tmp/textext
wget 'https://bitbucket.org/pv/textext/get/9260a2461344.zip'
unzip 9260a2461344.zip
cp -r pv-textext-9260a2461344 ~/.config/inkscape/extensions
Import the theme/hexgolems_theme.gpl as custom color palete in Inkscape.
Use the textex plugin to render Latex in your svgs, and the provided macros to display the generated pdfs.